Enjoy free shipping on purchase over $100 within Canada

Learn the correct order to apply makeup for a flawless, professional finish. Discover which products go first and why order matters.
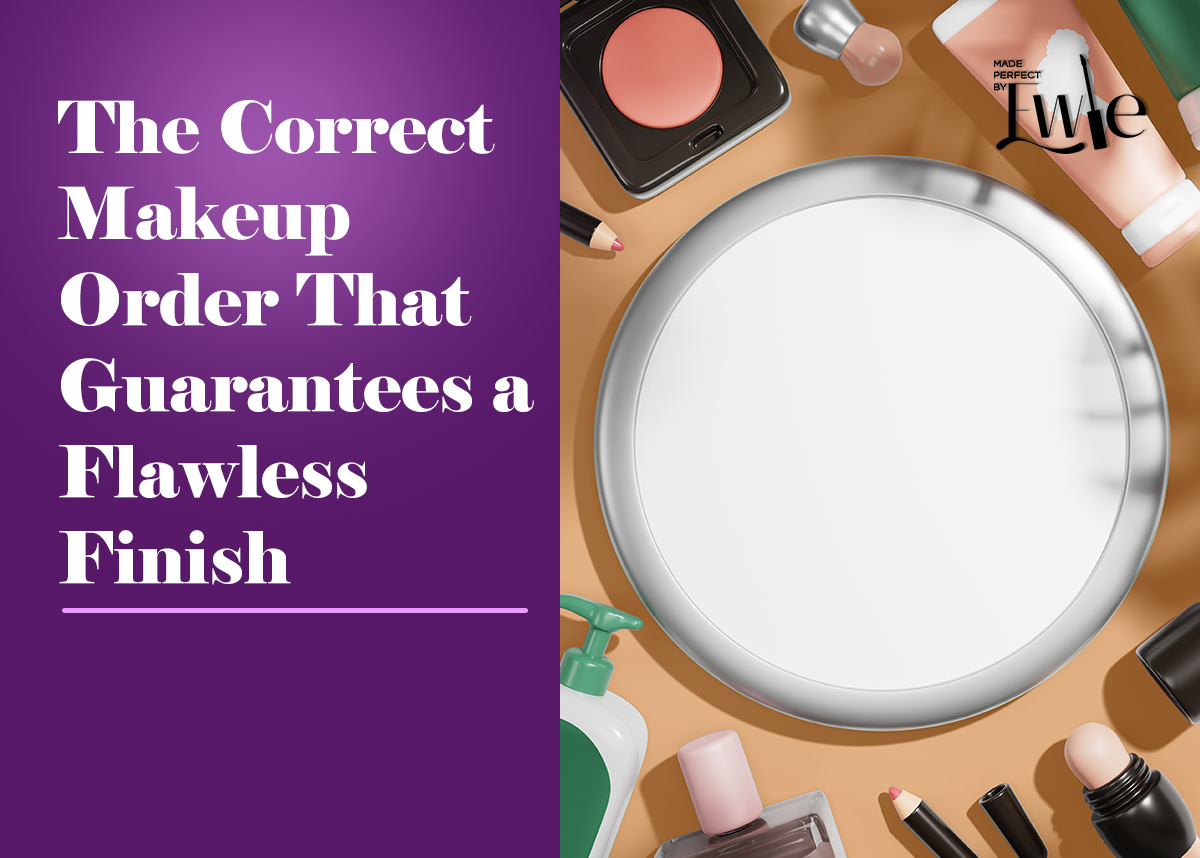
When your makeup looks uneven, patchy, or disappears halfway through the day, it’s rarely about the products. Most times, it’s about the order you apply them. The sequence matters more than people realize. A flawless finish depends on layering products in a way that supports texture, longevity, and skin health.
If you’ve ever wondered why your makeup looks better at the salon than at home, this guide will break it down step by step.
Step 1: Start with Clean, Moisturized Skin
Think of your skin as a canvas. A painter would never paint on a dusty or dry surface. The same applies here. Start with a gentle cleanser to remove oil, sweat, and dirt. Then apply a lightweight moisturizer suited to your skin type.
Oily skin: Go for gel based or mattifying formulas.
Dry skin: Use hydrating creams with hyaluronic acid or ceramides.
Combination skin: Try a water based moisturizer that balances both zones.
This step ensures your skin is hydrated and smooth, preventing foundation from clinging to dry patches or settling into fine lines.
Step 2: Apply Primer
Primer is the invisible bridge between skincare and makeup. It smooths pores, helps foundation grip better, and controls shine. A common mistake is using too much primer or choosing the wrong type.
For oily skin: Use a mattifying primer to keep shine under control.
For dry skin: Choose a dewy or hydrating primer.
For textured skin: Go for a blurring primer to even out the surface.
Allow your primer to sit for about a minute before moving on to foundation. This gives it time to form a proper base.
Step 3: Foundation Comes Next
Many people mix up the order by applying concealer first. Foundation should come before concealer because it evens out your base, allowing you to use less concealer later.
Choose your foundation formula based on your coverage goals and skin type. Apply using a damp sponge or brush, starting at the center of your face and blending outward. Avoid overloading product around your nose and mouth to prevent caking.
Step 4: Concealer to Brighten and Correct
Once your foundation is blended, it’s time for concealer. Use a shade close to your foundation for blemishes and a slightly lighter tone to brighten under the eyes.
To avoid creasing, apply in thin layers and blend quickly. Set the under eye area with a touch of translucent powder to lock everything in place.
Step 5: Contour and Bronzer
Contouring brings depth and dimension back to your face. Apply contour under your cheekbones, along your jawline, and on the sides of your nose if you prefer a sculpted look.
Bronzer adds warmth and should be applied where the sun naturally hits, the forehead, cheeks, and bridge of the nose. Choose a bronzer undertone that suits your complexion to avoid looking orange or dull.
Step 6: Blush
Blush is what gives your face life again. Apply it to the apples of your cheeks and blend upward toward your temples. For a modern lift, try applying blush slightly higher than the traditional placement.
If you want extra staying power, try blush stacking. layering cream blush first and topping it with a powder blush. This technique gives a healthy, long lasting glow.
Step 7: Highlighter
A touch of highlighter enhances your natural glow. Apply it to the tops of your cheekbones, the tip of your nose, and your cupid’s bow.
Avoid overdoing it. The goal is to look radiant, not metallic. Choose cream highlighters for dry skin and powders for oily or combination skin.
Step 8: Eyes and Brows
Next, move on to your eyes and brows.
Brows: Fill them in using light strokes that mimic natural hairs.
Eyeshadow: Start with a neutral base shade, then build up dimension with deeper tones on the crease.
Eyeliner: Use pencil, gel, or liquid depending on your skill level and the look you want.
Mascara: Finish by curling your lashes and applying mascara from root to tip.
Doing eyes after your base keeps fallout manageable and ensures cleaner blending.
Step 9: Setting Powder
Setting powder locks your base makeup in place and controls shine. Focus on areas prone to oiliness, like your T zone, under the eyes, and around the nose.
For a soft matte look, use a finely milled translucent powder. If you want a more luminous finish, lightly dust powder only where needed and let your skin’s glow peek through.
Step 10: Lips
Your lip color is the finishing touch. Exfoliate and moisturize your lips before applying lipstick or gloss. For longer wear, line your lips first, fill in with lipstick, blot once, and reapply.
This layering technique helps pigment stay in place for hours without bleeding.
Step 11: Setting Spray
Never skip setting spray. It melts all your makeup layers together and extends wear time. Hold the bottle about eight inches from your face and spritz in an X and T pattern.
You can also use a setting spray midway through your routine after foundation and powder for an even more natural, skin like finish.
Final Tips for a Flawless Finish
Use less product and blend more.
Stick to formulas that work together water based with water based, silicone with silicone.
Always let each layer set before adding the next.
Invest in quality brushes or sponges and clean them weekly.
Following this order takes the guesswork out of your routine. Once it becomes second nature, you’ll notice your makeup lasting longer and looking more professional.
With the right technique and tools, your makeup won’t just sit on your skin, it will enhance it.